

17 Oct How to make Scrolling Carousels in Canva
So, our love for Canva continues…shock horror, we know. We promise this is a goody for the busy business owners!
Carousels are a great way to provide educational content to your audience and you can easily create a seamless scrolling carousel designs in trusty Canva!
For this you will want to login to Canva on your desktop, creating these on your mobile device could make the job a little harder than it needs to be.
Here’s a how-to video to help you along with our steps below:
Let’s get into it:
First Up lets measure out the slides:
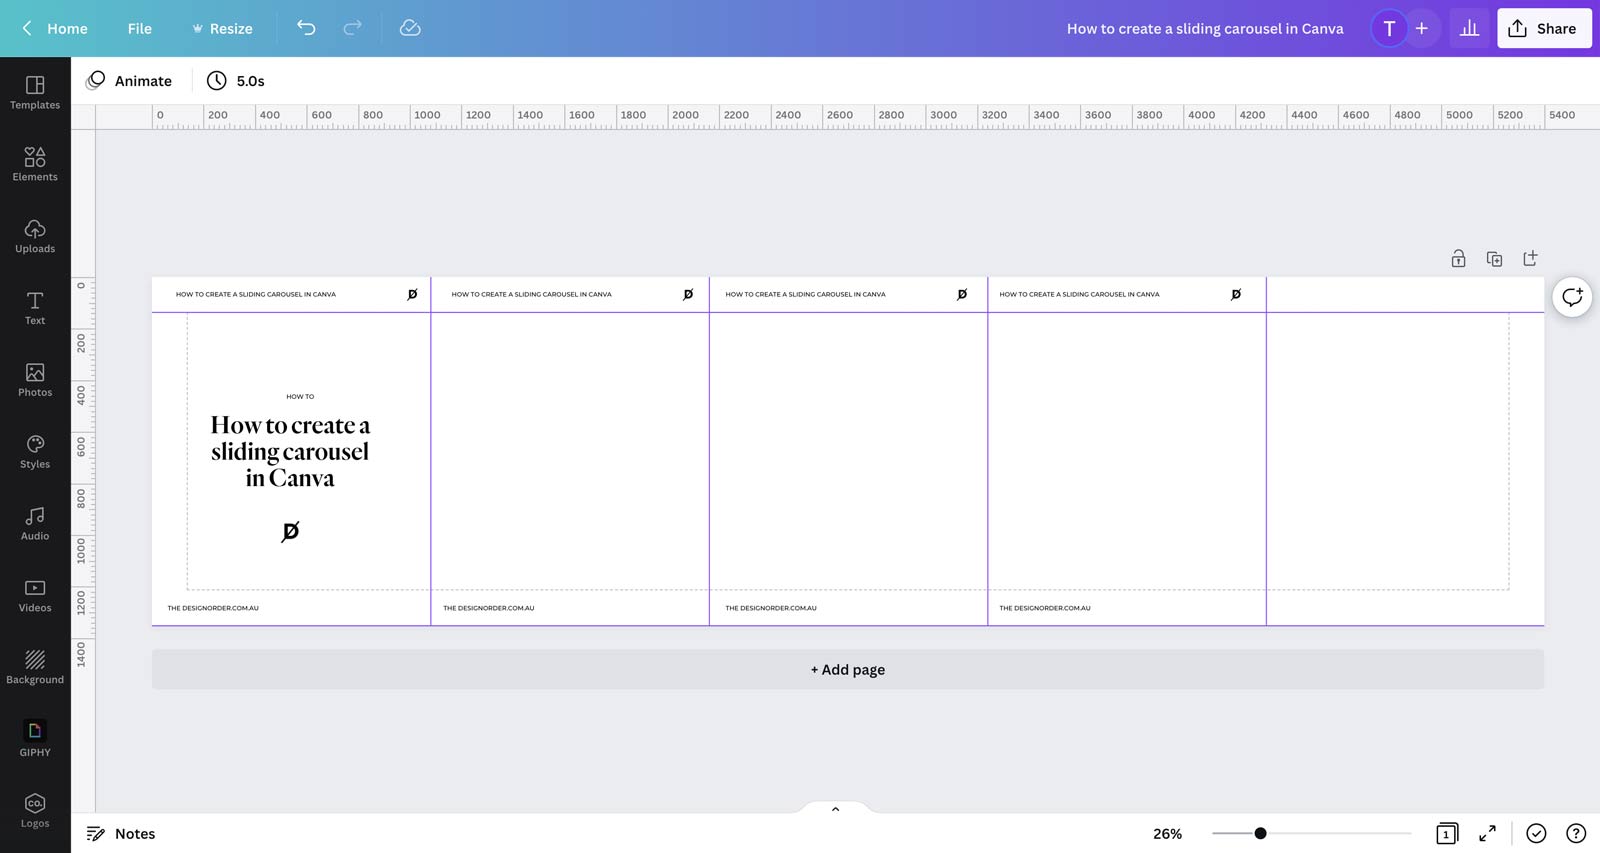
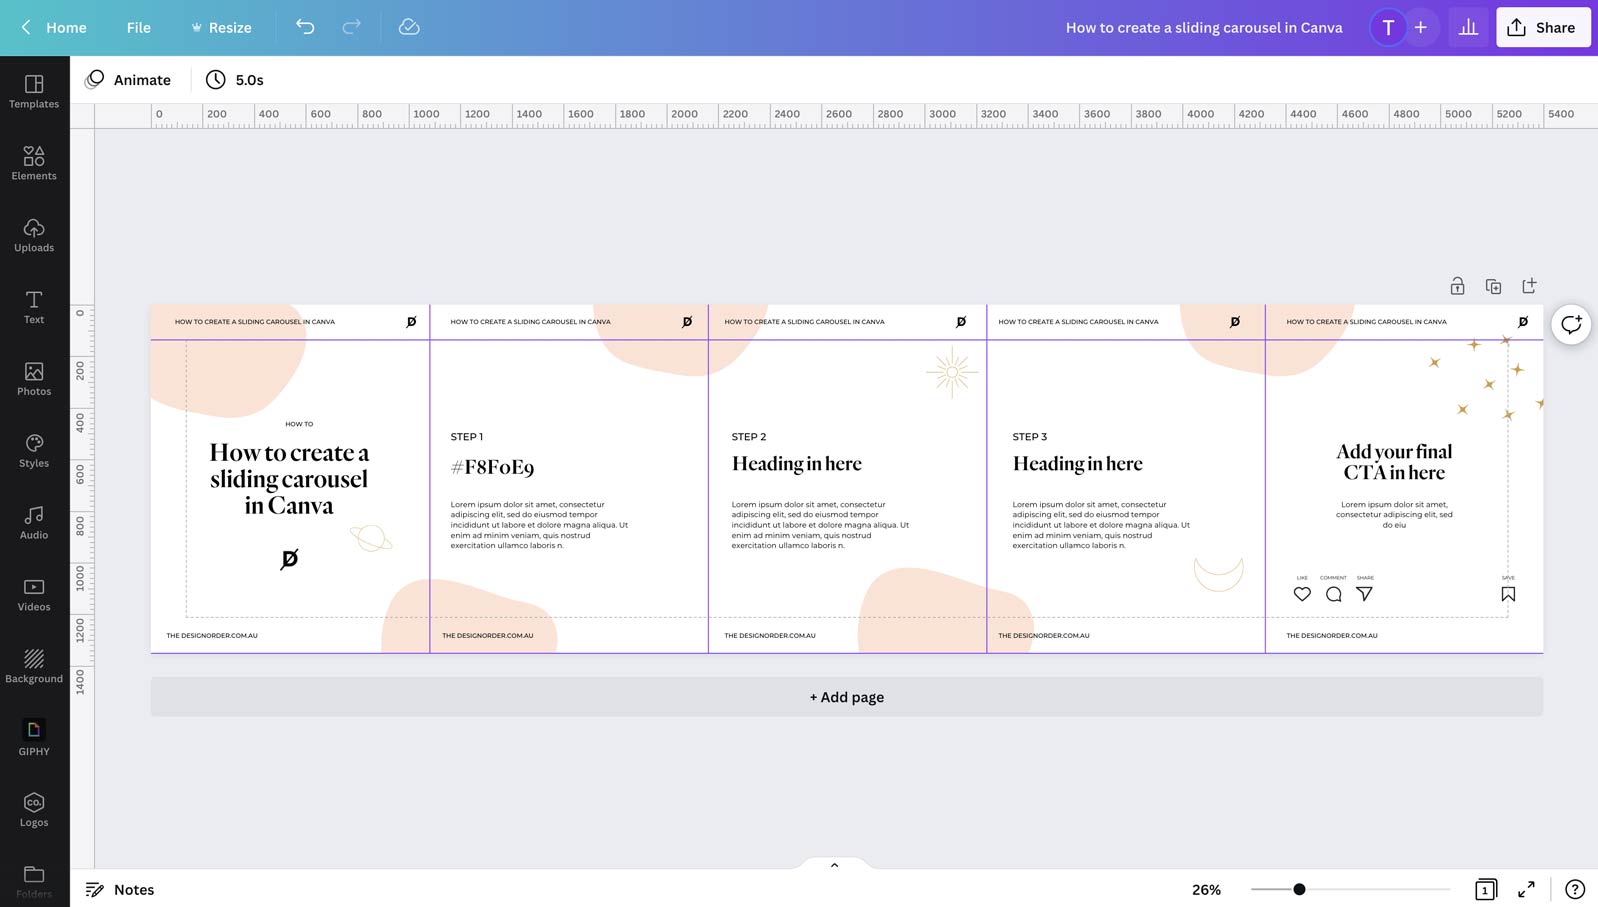
- You’re going to be creating one super long design instead of separate tiles. To begin you need to create a new design, measure out your tiles and create a custom size, you can choose the standard instagram post size 1:1 ratio (1080px X 1080px), however on Instagram you can actually make the posts a little larger which will ultimately show larger when your audience are scrolling through their feed this could be (1080px X 1350px).Let’s say you want to create 5 slides within your carousel (5 swipes), to work out the custom size of your design would be 1080px X 5, then your choice of height (either 1080px OR 1350px).For example, for 5 tiles it would be 5400px X your desired height (either 1080px X 1350px).
- Turn on rulers and margins, you can do this through – ‘file’ in the top left corner. Then zoom in and place your guide at 1080.
- The quickest way I have then found to measure out the rest of the slides in a jiffy is to make a box 1080x1080px. Align the left size of the box to your first guide then you can use the right hand size of the box to align your next ruler guide to. Keep doing this until you have measured out the rest of the slides, making the template into 5 sectioned slides (or however many you’re creating).
- To ensure the first design will look good in your feed add extra margins at the top and base – measure these by using your square 1080px box from step 3. Once complete, you can delete the box. You will then easily see where the first slide will be cropped on your feed.
Next up, start laying out your design:
-
- To start with, add your initial heading on the first slide. Remembering on your feed your audience will only be able to see inside the margins for this first slide (square shape).

- To start with, add your initial heading on the first slide. Remembering on your feed your audience will only be able to see inside the margins for this first slide (square shape).
-
- Next up be sure to add some sort of tag or your url to take ownership of your slides – this can be your handle, url or branding elements. For me – I usually use my url and D brand stamp. I normally put them either at the top/base of the slides so they are not centre focus.I will then add the title of the slides subject to the top and base as well.Select all and then option click to copy and drag them across to all of the slides. Use the measuring guides that will pop up to ensure these are spaced evenly across.
- Next up be sure to add some sort of tag or your url to take ownership of your slides – this can be your handle, url or branding elements. For me – I usually use my url and D brand stamp. I normally put them either at the top/base of the slides so they are not centre focus.I will then add the title of the slides subject to the top and base as well.Select all and then option click to copy and drag them across to all of the slides. Use the measuring guides that will pop up to ensure these are spaced evenly across.
-
- Add in your content, again using the ruler guides to ensure these are spaced evenly across.
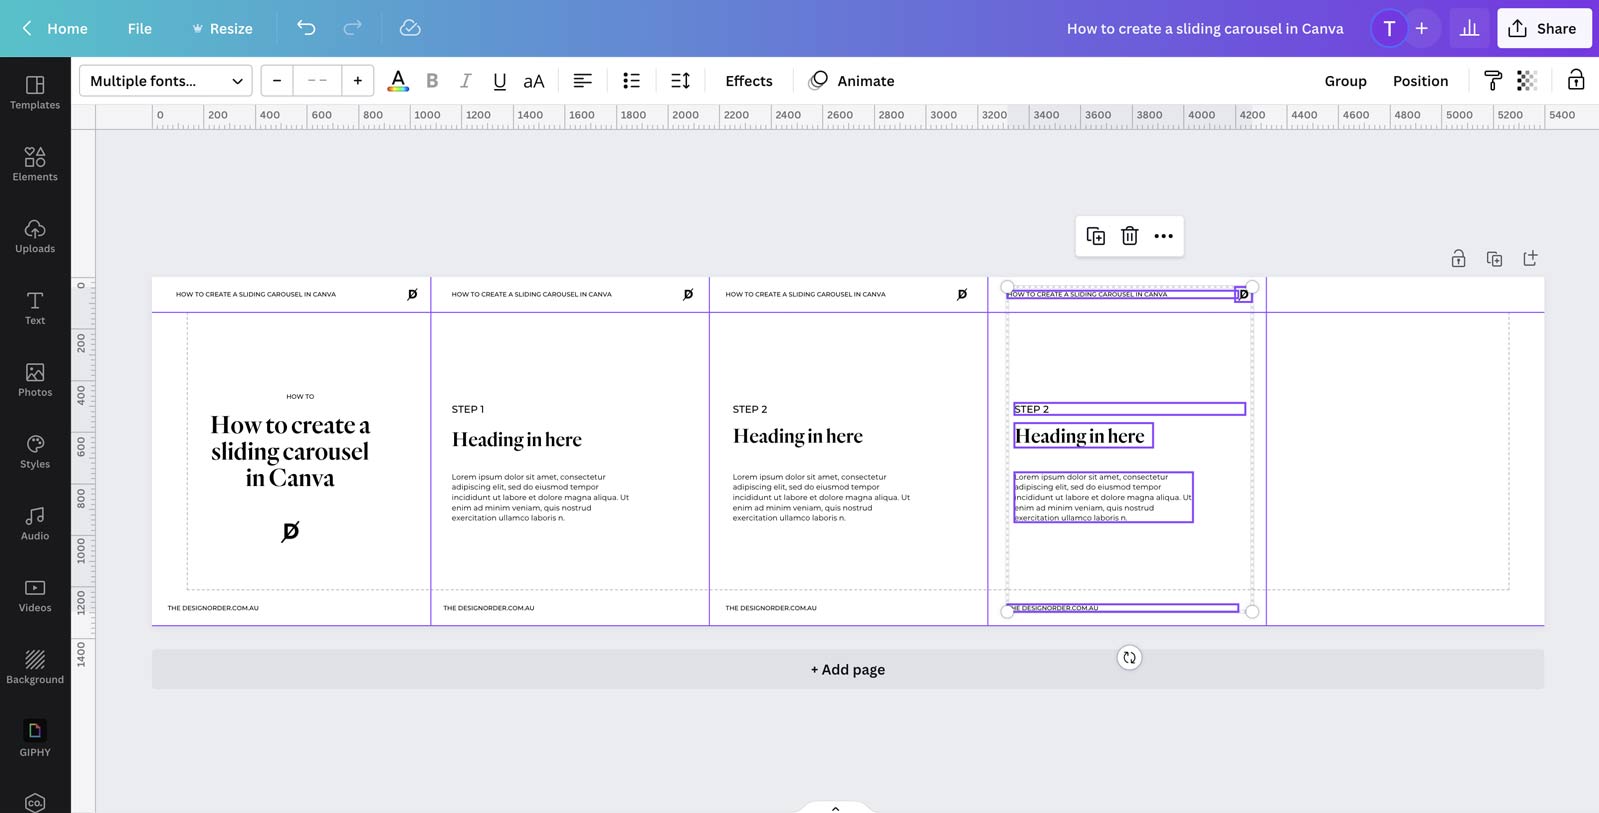
- Add in your content, again using the ruler guides to ensure these are spaced evenly across.
-
- You can then glam your slides (if that’s your thing) using either Canva elements or images. Remember the images can overlap the slides to create cool seamless effects. Here you may also want to include elements such as arrows to encourage your audience to swipe through.
- You can then glam your slides (if that’s your thing) using either Canva elements or images. Remember the images can overlap the slides to create cool seamless effects. Here you may also want to include elements such as arrows to encourage your audience to swipe through.
-
- Last up you can add a CTA to the final slide. If you want to get full marks on your marketing degree – give people a reason to do something, buy something, click on something. (Call us stupid but we don’t – I hate being salesy).On this slide you can also add elements like the ‘like, save, share, comment’ icons. Simply just search for “instagram like icon”.
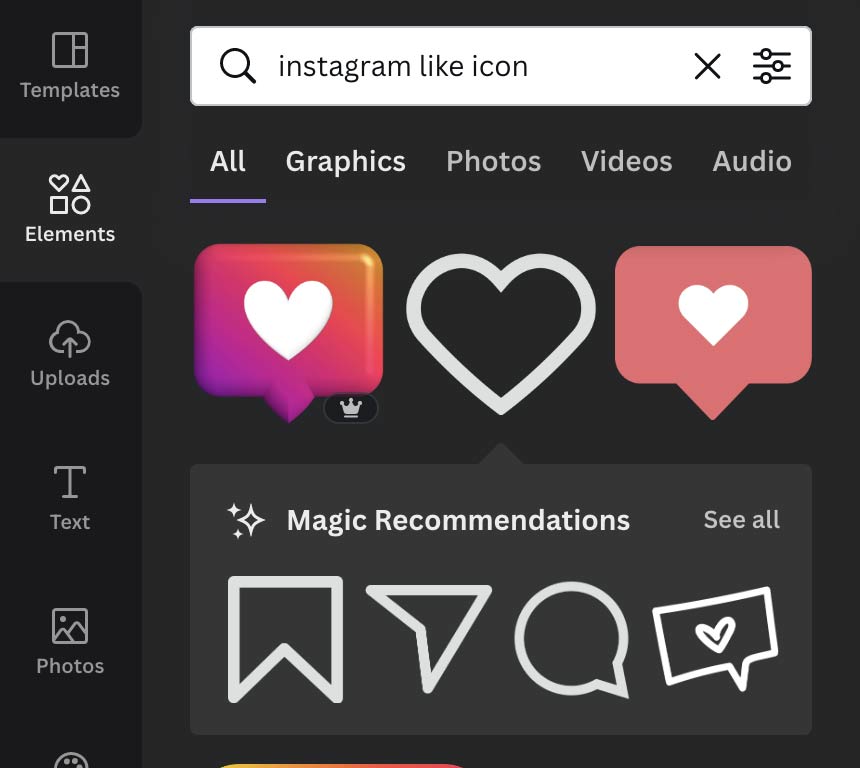
- Last up you can add a CTA to the final slide. If you want to get full marks on your marketing degree – give people a reason to do something, buy something, click on something. (Call us stupid but we don’t – I hate being salesy).On this slide you can also add elements like the ‘like, save, share, comment’ icons. Simply just search for “instagram like icon”.
-
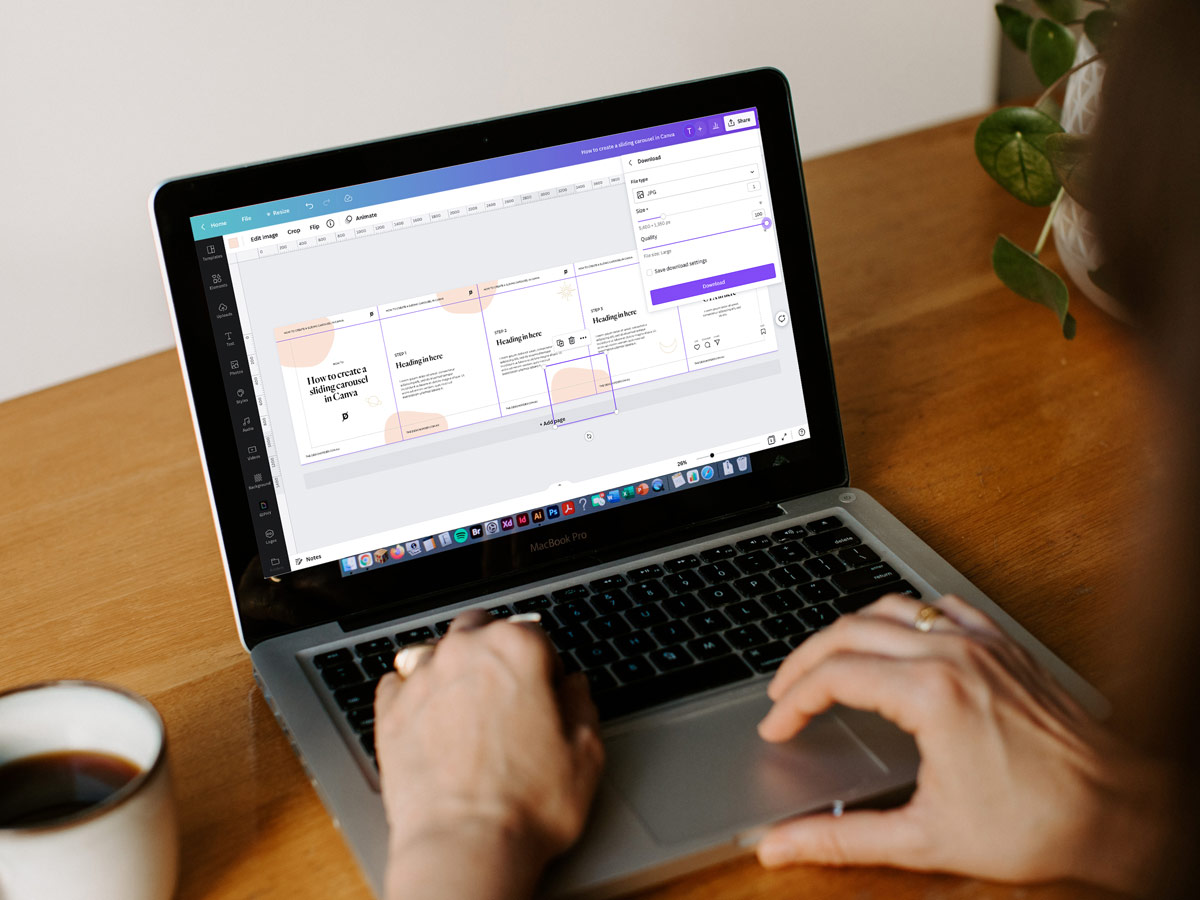
- Download your design – high-res jpg will be the best idea for good quality and small image size which is easier to handle.
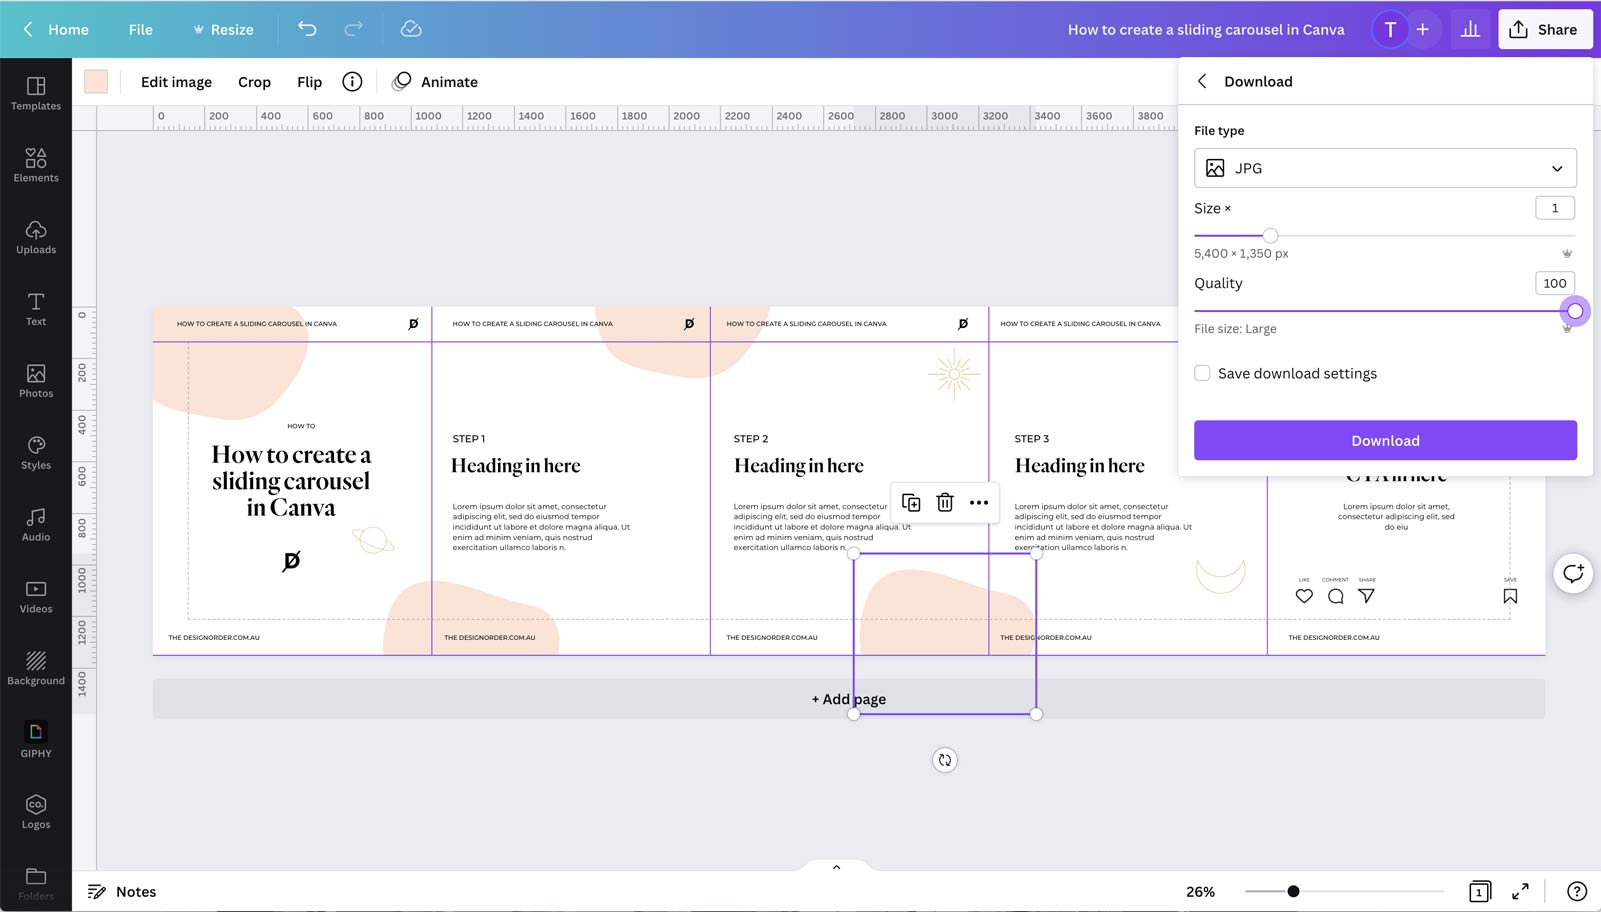
- Download your design – high-res jpg will be the best idea for good quality and small image size which is easier to handle.
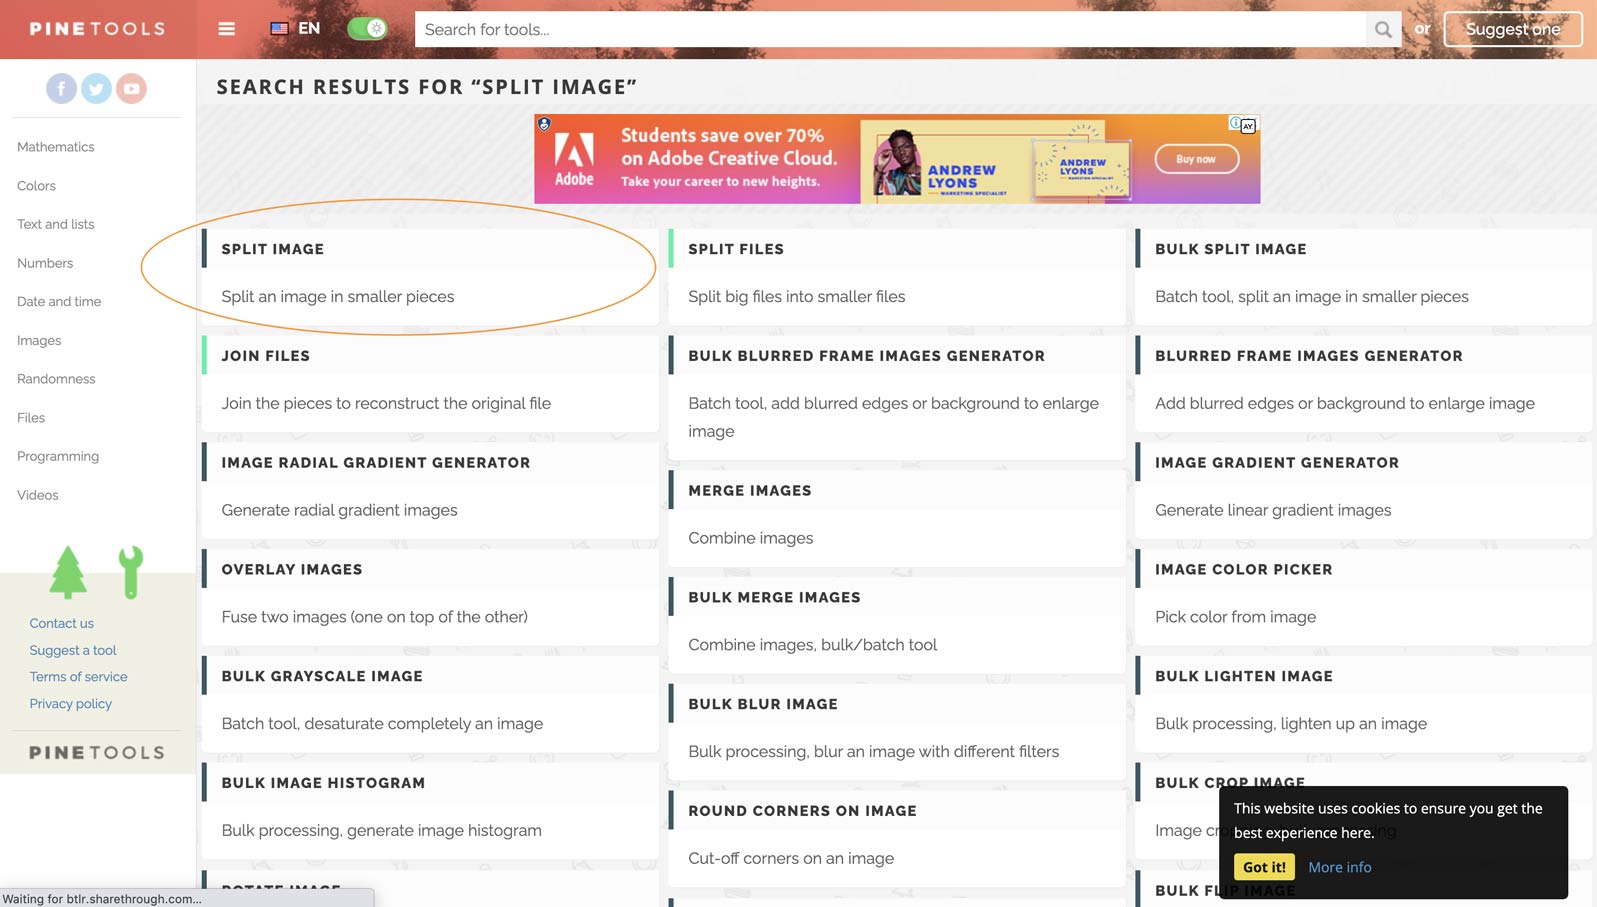
- Now you have your template. Head to the website ‘Pine Tools’, in the search bar search for “Split image”
 i. Upload your file
ii. Select your required splitting options – horizontally, jpg, quantity of blocks (e.g breaking the template into 5 slides).
iii. Select split image
iv.Download your images + push them to your phone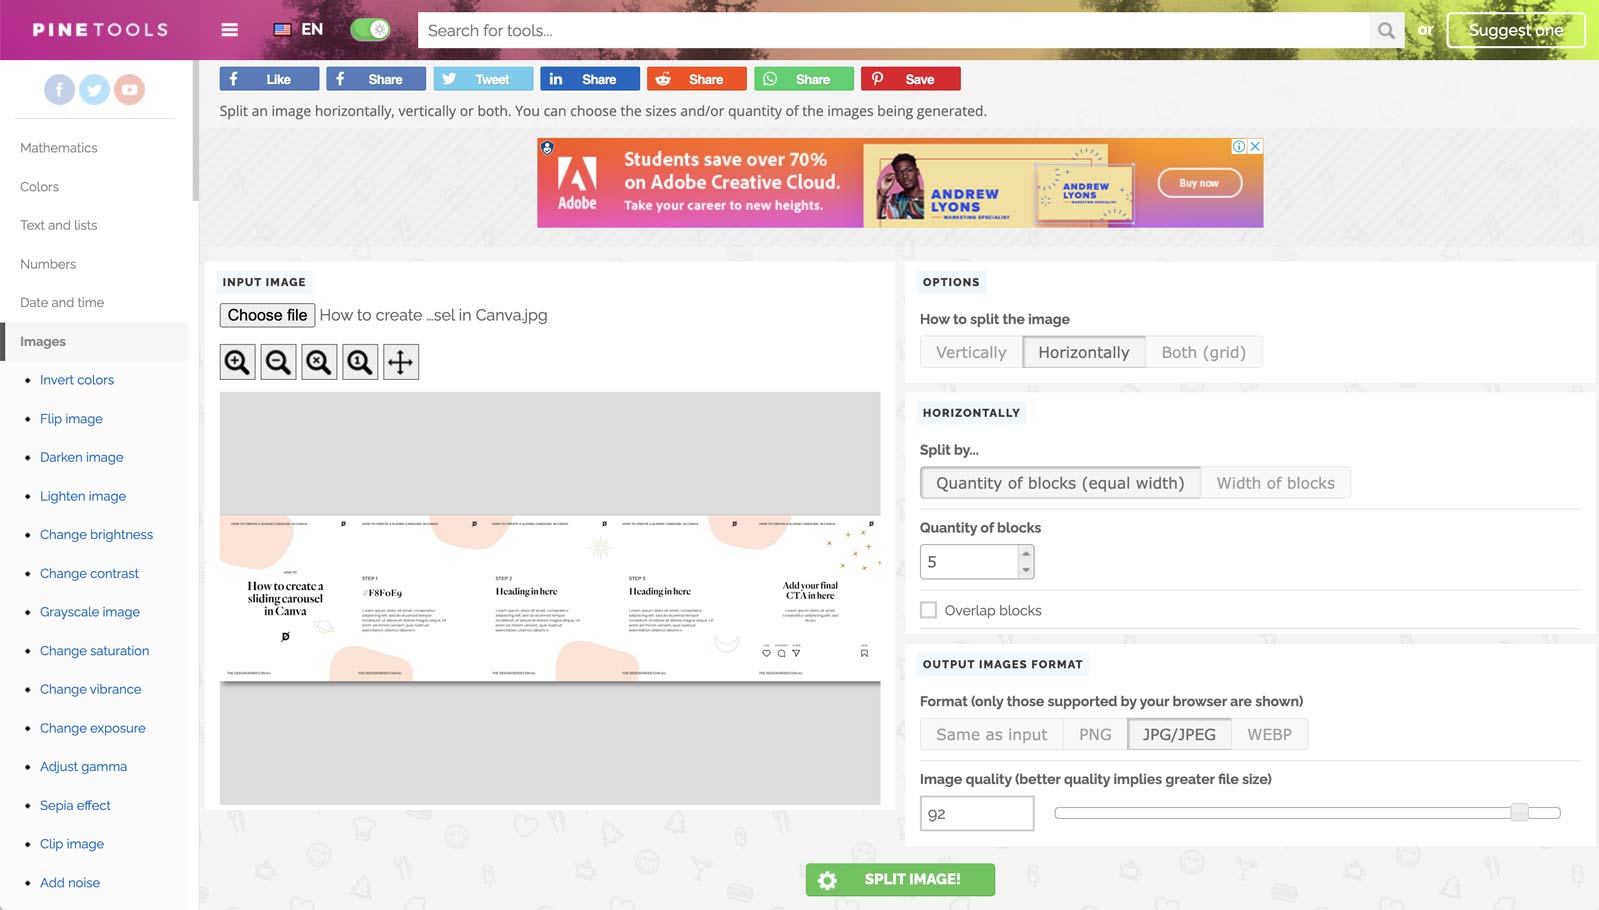
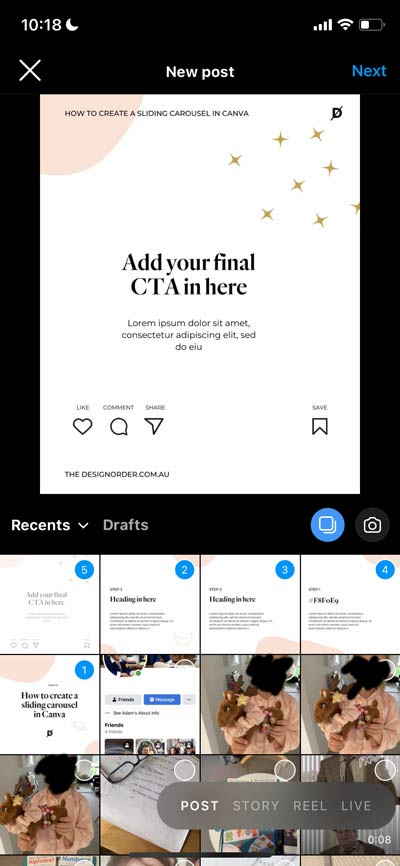
- The final step is to go over to your insta account, click new post and then select your images. You want to ensure you’re selecting your photos in order of upload. To do this, firstly select your front photo, then click the carousel icon (middle right of your screen) this will allow you to select multiple images as shown below.
Write your captions & your good to upload!
Now, if you can’t be bothered making your own template we have a sneaky little short cut and you can download our template here.Let us know how you go!
LIKE THIS AND WANT MORE?
If this is the kind of content that speaks to you, follow us on Instagram. Or you can also sign up to our newsletter for weekly goodness delivered straight into your inbox. Yes, that’s right – Weekly Goodness – no-one hates SPAM email more than we do!


